


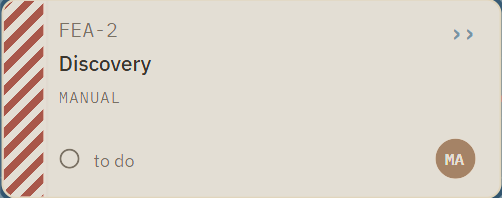
Open – waiting for its moment
Depensee gathers your project and its tasks on a single interactive map: tasks are nodes, dependencies are links. The whole structure stays in view – no more juggling a dozen open tabs. This guide will help you find your way around.
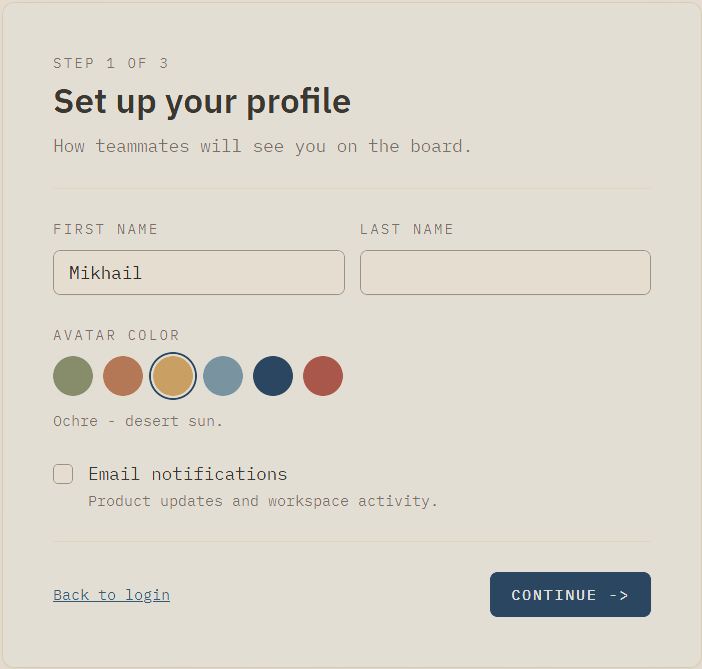
First name, last name, and an avatar color – this is how teammates will see you during collaborative planning. You can always change it in settings.
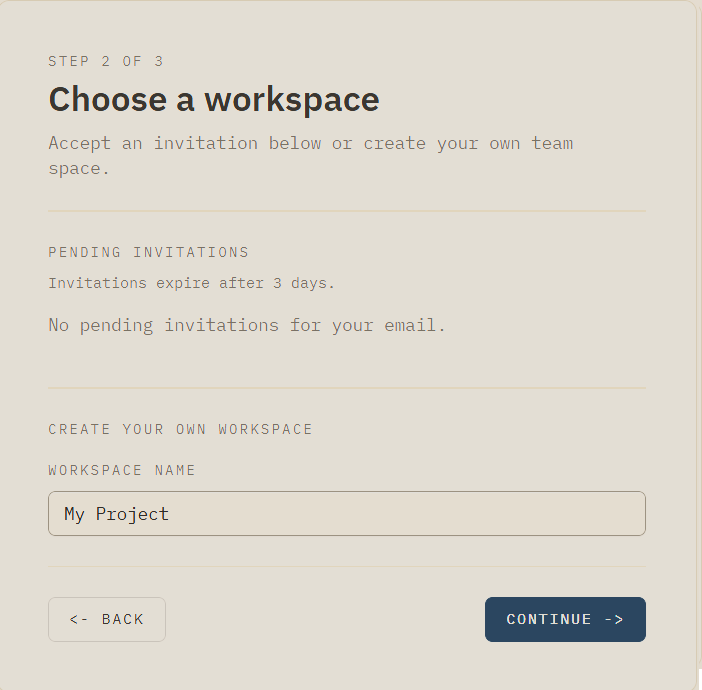
Name your workspace – your planning boards will live inside it. If a colleague has already invited you to theirs, the invitation shows up right at this step. You can switch freely between your own workspace and others.
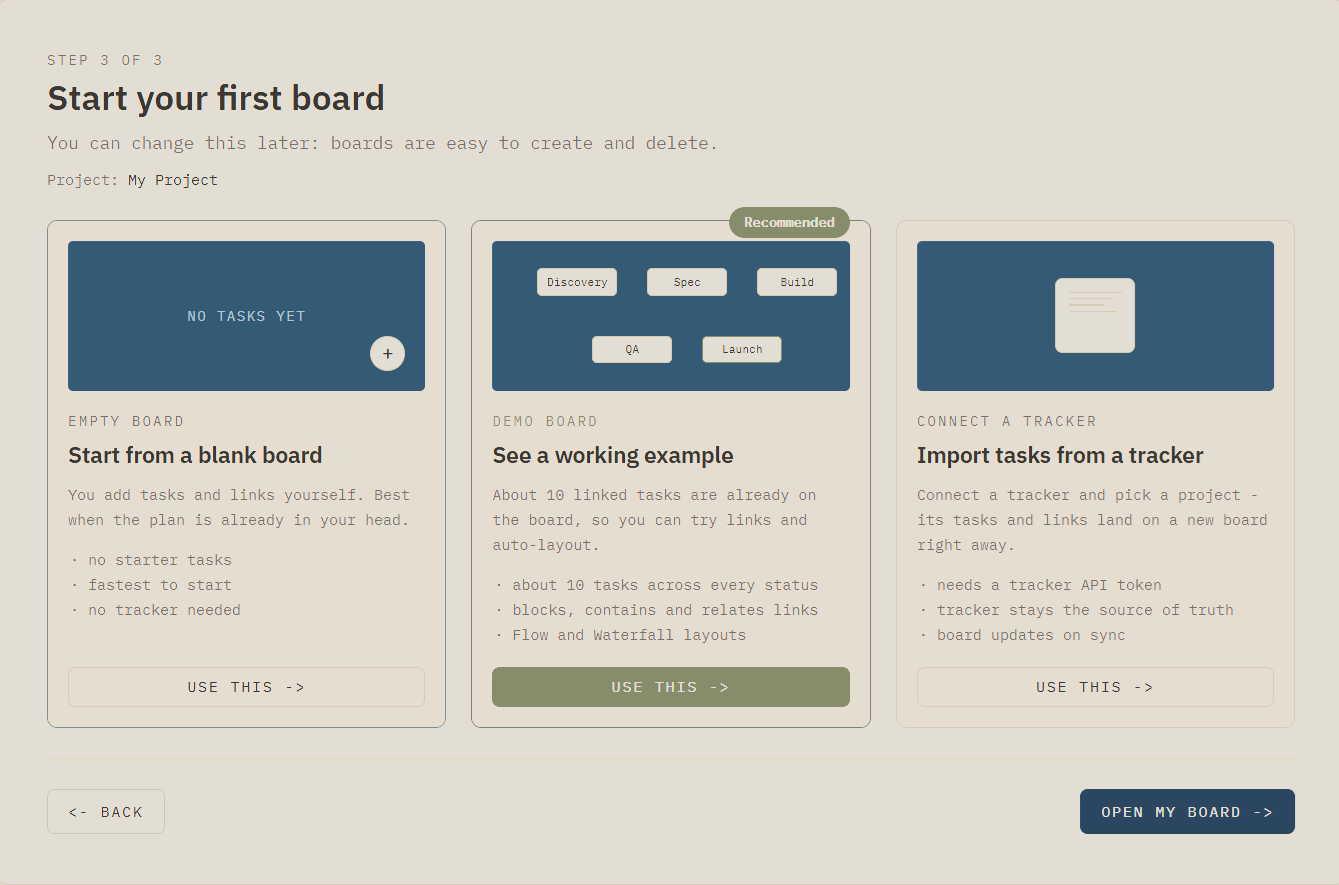
The final step – picking a board. We recommend the second one: it comes with demo tasks, so you have something to move around. The first is a blank slate for those who like starting from scratch. The third, with Jira or Yandex Tracker integration, is still in development.

This is where you open settings and pick your workspace and board.
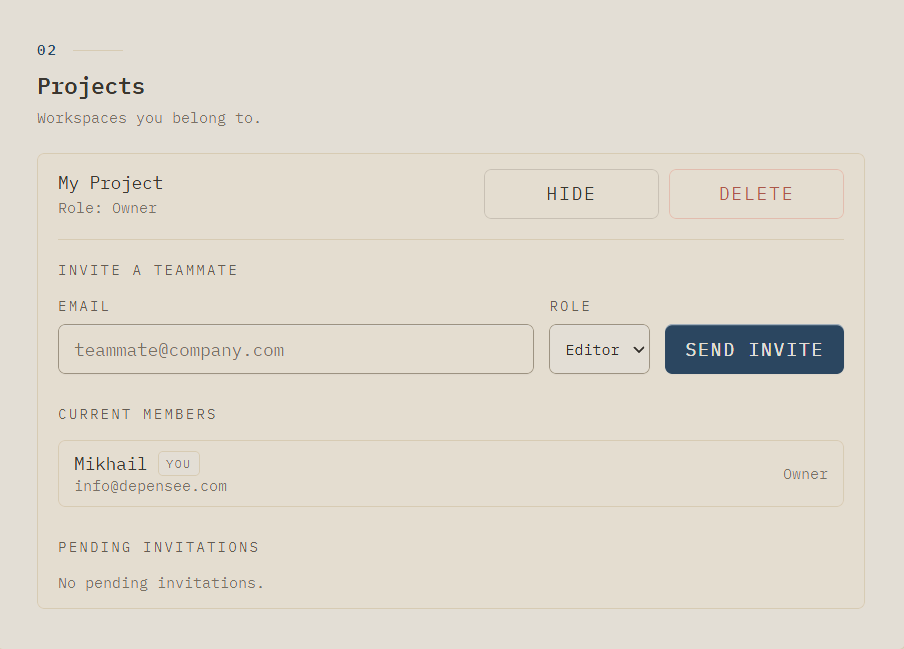
Settings let you edit your profile, your workspace, and its boards. You can also invite a colleague to your workspace from here.
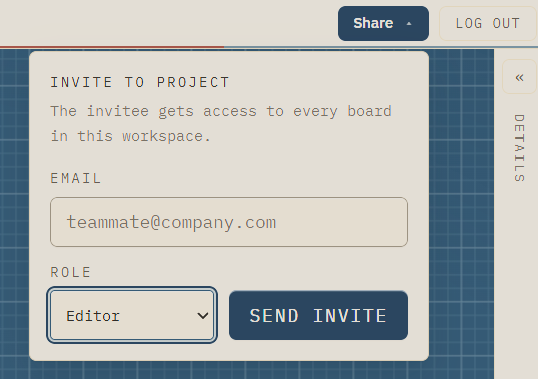
Don't feel like opening settings just to invite someone? There's a quick-invite button on the right side of the top bar – a colleague joins your workspace in a couple of clicks.
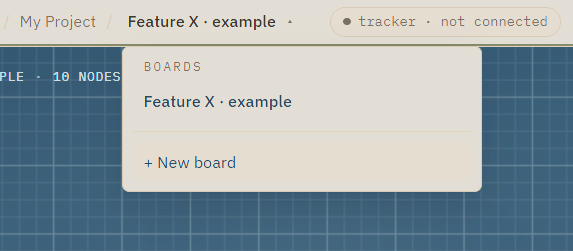
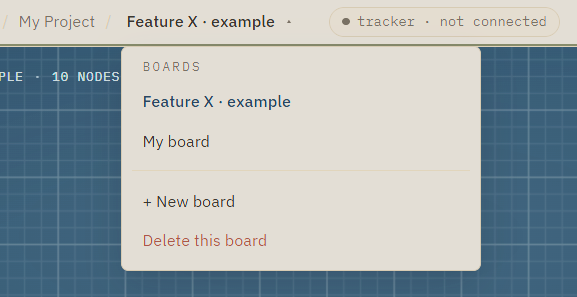
Click the current board's name on the top bar to open the board manager: switching, creating, deleting – all in one place.
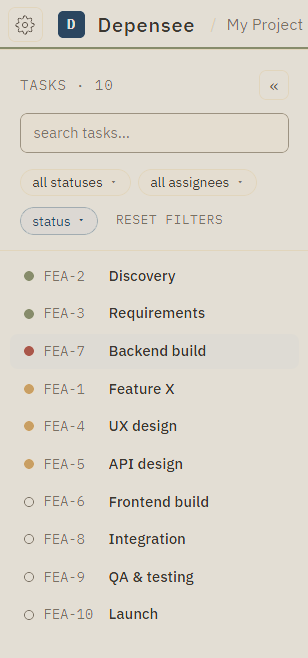
Every task on the board in one list, with sorting and filters. The row color hints at the status.
Click a task to open its details in the right panel.
Filtered tasks get “highlighted” on the board.
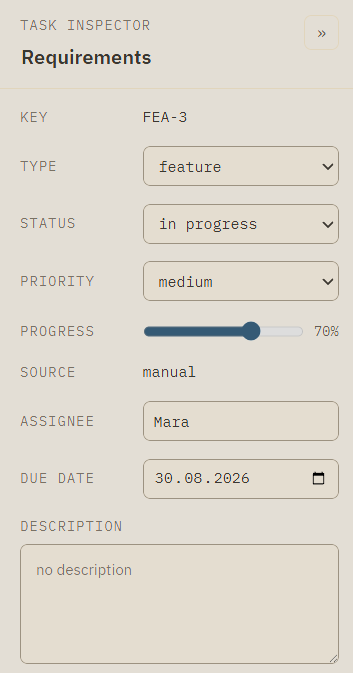
The inspector is a familiar list of task fields: status, type, assignee, and the rest. Some elements are still in development – the interface keeps growing.
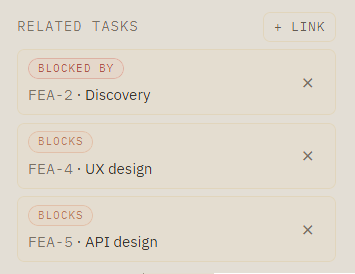
At the very bottom of the inspector – all the relations of the selected task. Manage them from here: see where the threads lead and cut the extra ones.
One click on the plus button – and a new card lands on the board.
One caveat: make sure the bottom bar is set to show all tasks, or you might not see the freshly created card.
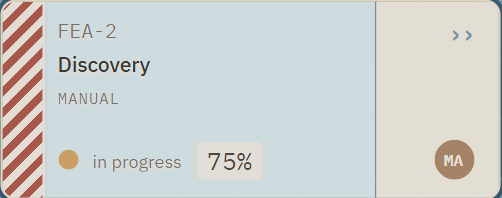
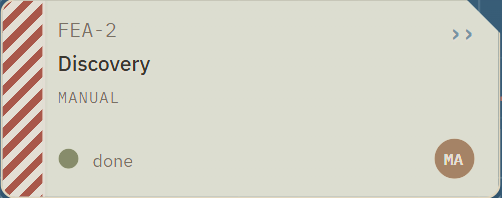
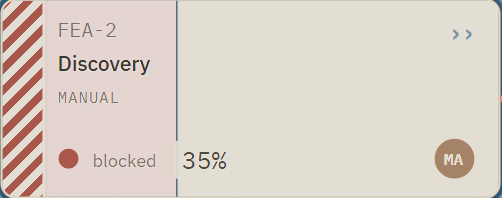
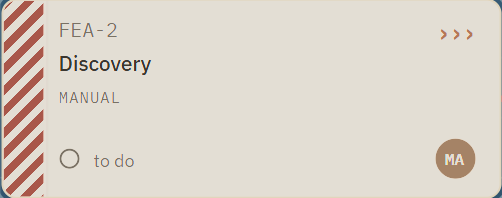
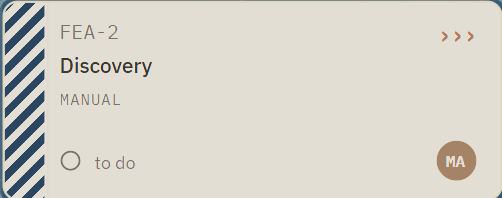
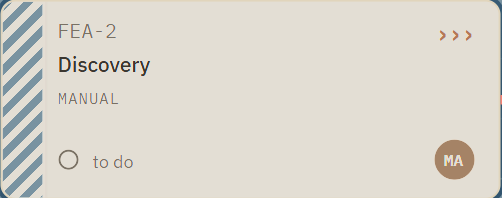
A card changes its look depending on the status – one glance tells you what's happening on the board.
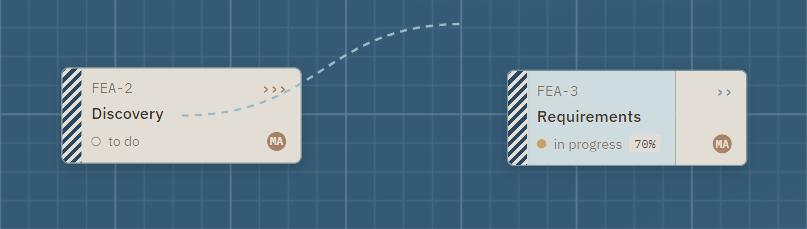
Hold Shift, press the left mouse button on a task, and drag the cursor away – a dashed line will follow.
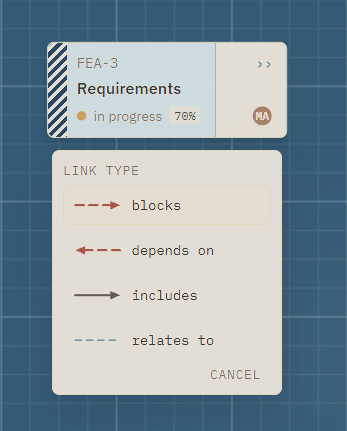
Hover over the second task and release the mouse button. A link type picker will appear.
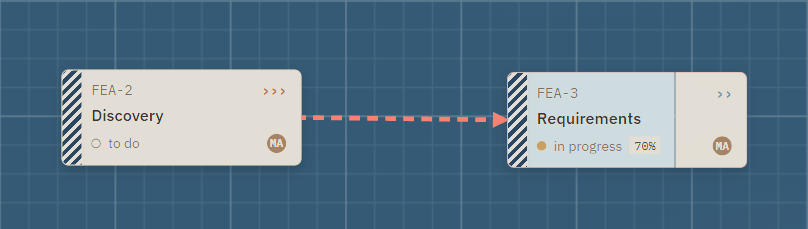
The link is now on the board. Its style depends on the chosen type – the graph reads at a glance, much like an ER diagram.
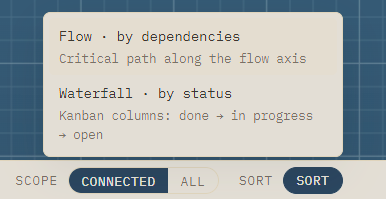
Two handy switches: hide unlinked cards (careful – new tasks are invisible in this mode) and choose the board layout, Flow or Waterfall.

The classic Depensee mode. The critical path – the longest chain of tasks – lays out left to right, top to bottom. You instantly see the project's backbone.
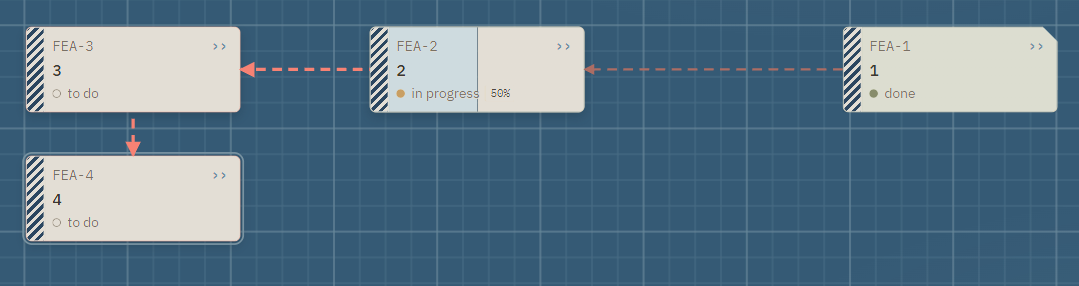
An experimental Kanban-flavored mode: open tasks on the left, in-progress in the middle, closed on the right. Handy when deciding what to pick up next.
We'd love your feedback – we read every message.